
1. Log into Your Local Wiz App
- Open your Local Wiz App and log in using your credentials.
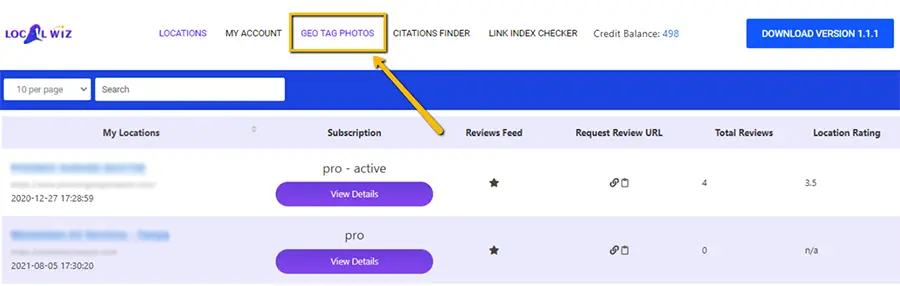
2. Navigate to the Geotag Photos Page
- Once logged in, locate and click on the “Geotag Photos” option. This will take you to the geotag page.
3. Prepare Your Photo
- Clear and Concise – While you can upload photos of any size, for optimal performance and faster processing, we recommend keeping your image size under 5 MB and dimensions around 1200×900 pixels (if you will be using the image for a website).
4. Fill in the Required Information
- Specific Location: Enter the exact location where the photo was taken.
- Copyright Information:
- Copyright Artist: Name of the copyright holder.
- Company Name: Name of the company or organization.
- Document Name: A descriptive name for the photo.
- Description: A brief description of the photo.
- Website: The website where the photo will be used or is related to.
- Keywords: Primary and secondary keywords related to the photo or project.
- Creator: The name of the person who created the photo.
- Year: The year the photo was taken.
- Address: The address of the location where the photo was taken.
5. Upload Your Photo
- Click the “Upload Photo” button.
- Select the prepared photo from your device.

6. Submit the Geotag Request
- Once all information is filled in and the photo is uploaded, click the “Submit” button.
7. Check the Archive
- After successful submission, the geotag information and photo will be added to the archive.
- You can access the archive to download the geotag information for future reference.

By following these steps, you can effectively geotag your photos and organize your digital assets.